

How To Set Up A Drum Set Diagram
Learning how to set upward a drum ready might sound overwhelming at first, but as a kid, there'due south no better feeling than receiving your first musical instrument.
Subsequently "playing" with pots and pans, using markers as my drumsticks, and begging my parents for a drum kit for years, I couldn't believe it when the solar day finally arrived.
My kickoff pulsate kit was a second-mitt $200 Century. Standard sizes, in wine-reddish and off-brand hardware.
The cymbals were all Meinl Meteor and they were and so dirty yous could barely encounter the logos.
They also had plenty of drum stick marks while nearly pulsate heads had dozens of dents and sounded dead.
It didn't matter how bad the drum set looked or how it sounded. I can still vividly call back how special that day was.
This was like three months before I fifty-fifty had any lessons, so I knew nothing about actually playing the drums or even how to gear up up a drum set.
Other musicians get their instruments, tune them (if needed) and they are ready to start playing.
Every bit drummers, due to the nature of our instrument, we are setting up multiple instruments, which is more circuitous and fourth dimension-consuming.
What ends upwardly happening most of the time, especially when we are too young to do it ourselves, is the parents are the ones struggling to set up a pulsate fix they probably didn't fifty-fifty desire in the first identify (sorry, mom!).
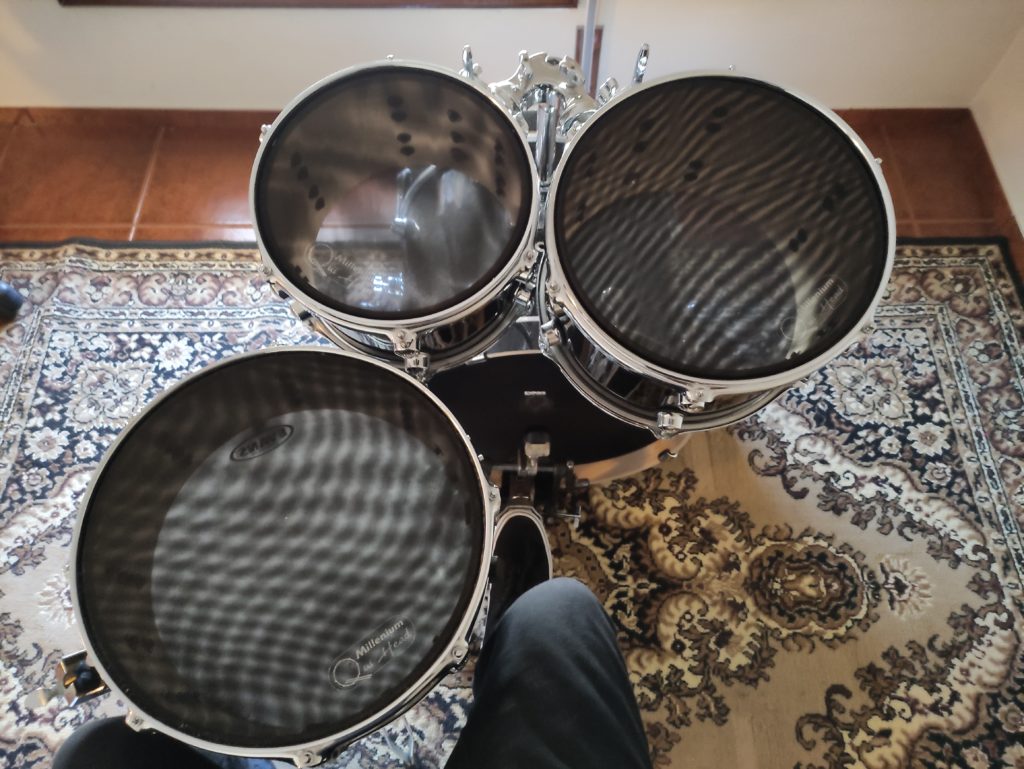
If you lot're unlucky, you might end up with one of those Facebook market drum sets:
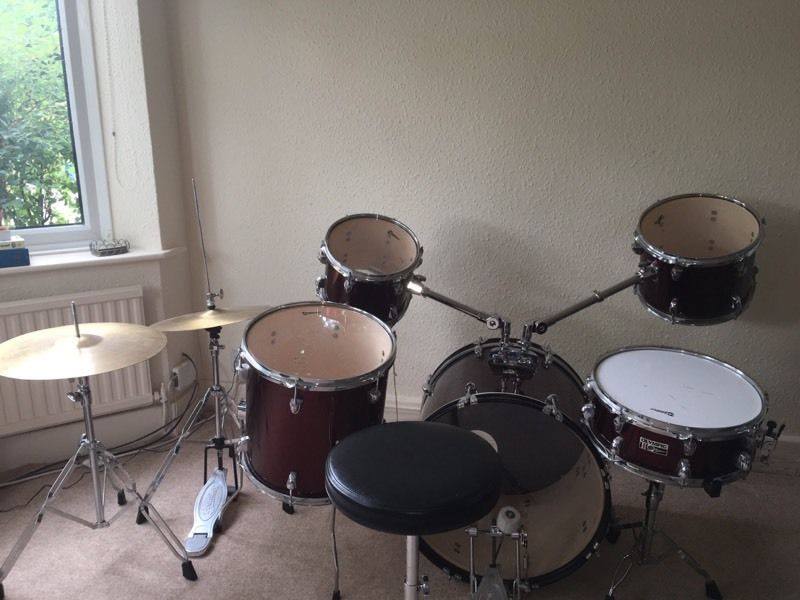
No matter how hard they endeavour, no 1 knows the states meliorate than nosotros do. At that place's always something to conform later on the parents' initial attempt to set up a drum set: snare drum height and angle, drum throne's height, cymbal's height, and angle, and much more.
There isn't a unmarried correct way to fix a drum set, as it'south all a matter of personal preference, only every drummer with a little fleck of feel knows exactly how they want to set upwards their drum set.
For a beginner, the about of import thing is to set up your drum set up ergonomically. In other words, setting upwardly in a way where you lot can reach every piece of the drum kit without much effort.
If your drum kit isn't positioned well, you'll develop back hurting, strained muscles and it will limit your progression as a musician.
In this article, I'll teach y'all how to ready every part of a v-piece pulsate set with a Howdy-Chapeau, Ride, and a Crash.
Hopefully, yous (or your parents) will be able to skip a lot of the trial and error that most beginner drummers go through when they first first searching for the optimal setup.
And now, without further ado, here's how to ready a drum set up:
1- Place The Different Parts Of A 5-piece Pulsate Kit
Well-nigh 5-pieces drum kits include, at least, the following parts:
- Drums: Bass Drum, Snare Pulsate, Tom #one, Tom #2, Floor Tom
- Hardware: Howdy-Hat Stand, Bass Pulsate Pedal, Snare Drum Stand, Straight Cymbal Stand, Smash Cymbal Stand, Drum Throne
- Cymbals: Hullo-Hat, Ride, Crash
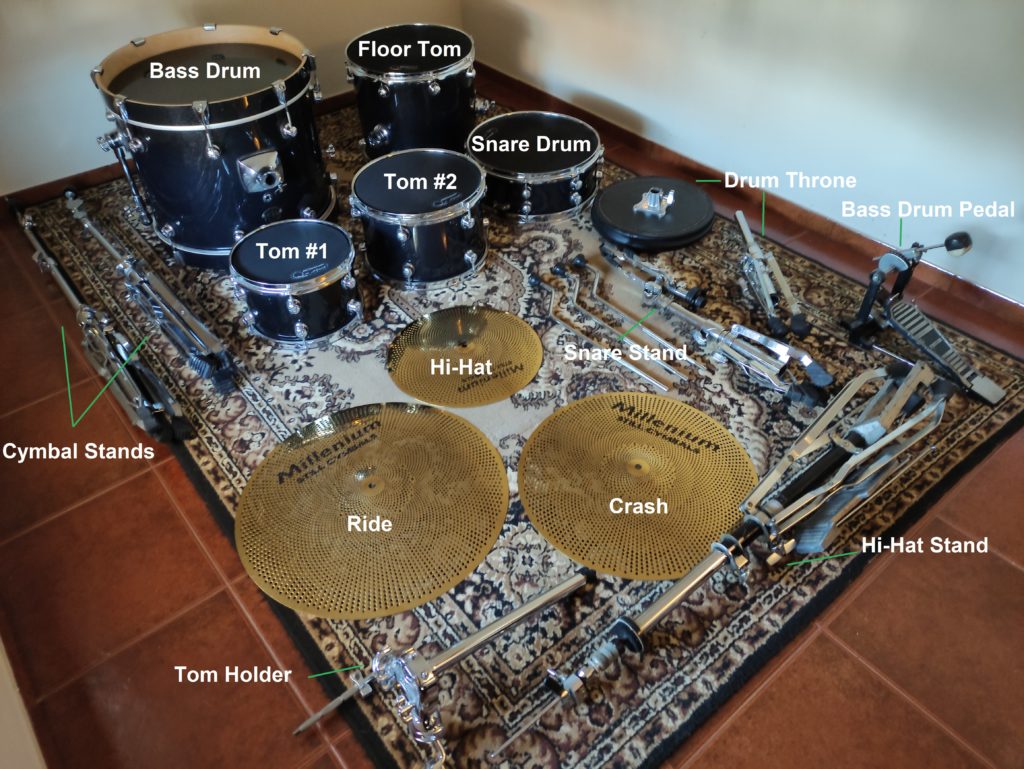
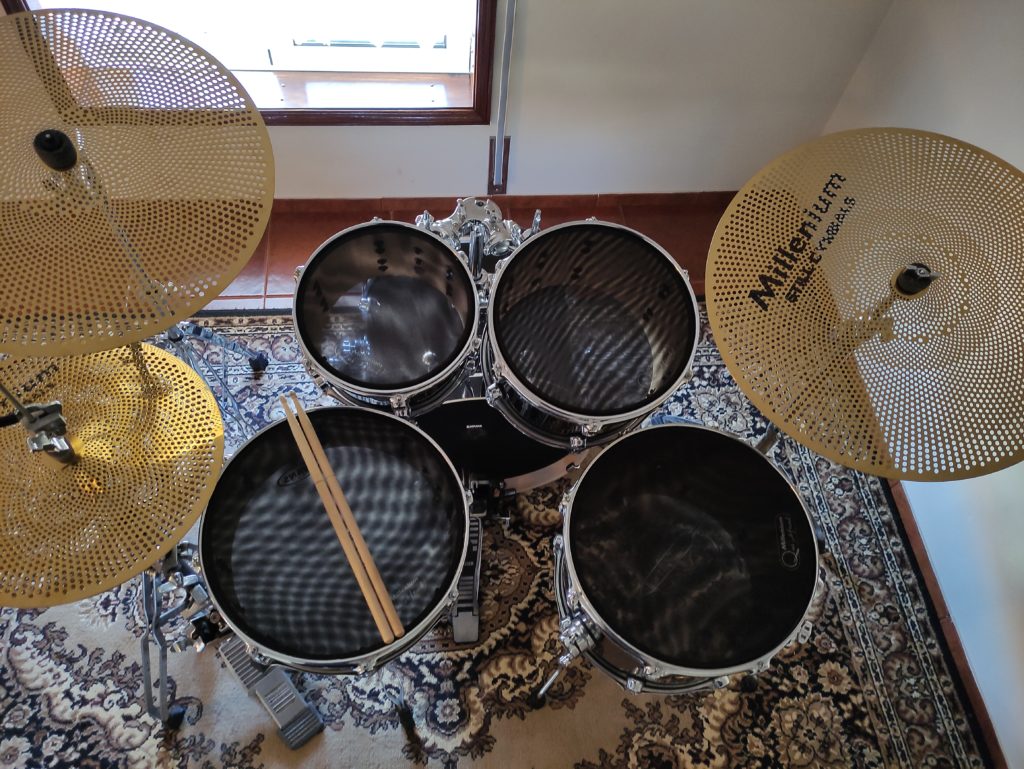
Here's a picture show of the drum set I volition be using, with everything labeled so you can hands follow along:
two- Cull The Location For Your Drum Gear up
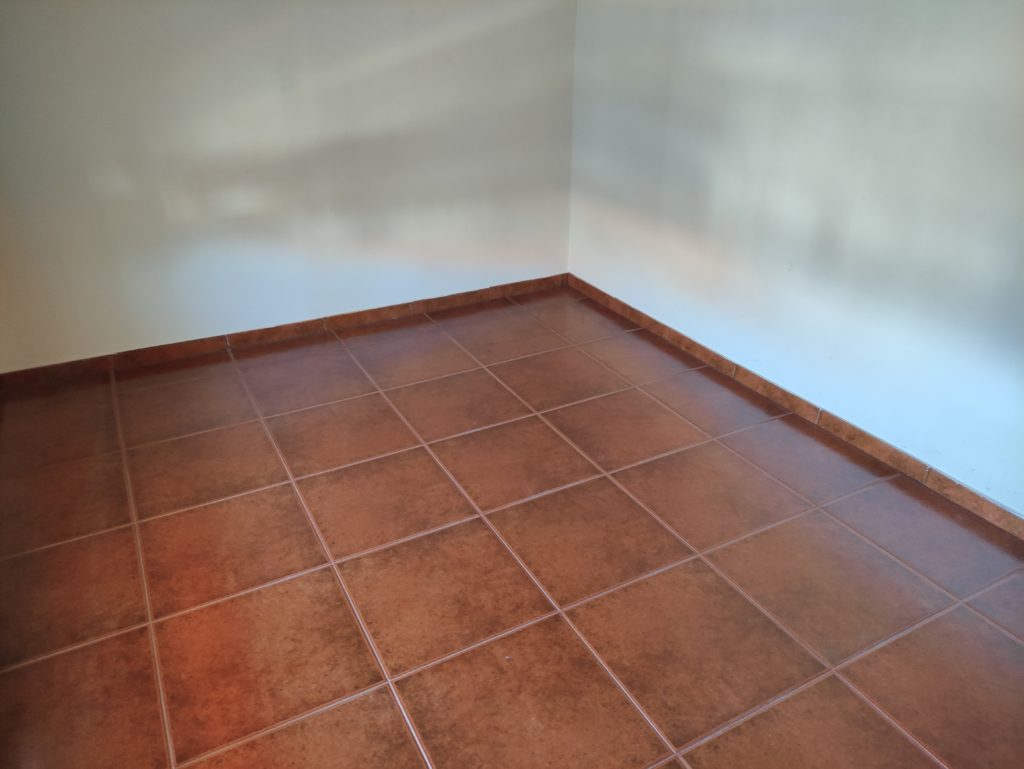
Now that yous take all the pieces ready to be assembled, choose where y'all're setting upwardly your drum kit.
The location needs to have enough space for a five-piece drum kit. If you don't know how much space a regular 5-slice drum kit needs, 20sqft is usually a great showtime.
You lot might exist able to work with less infinite, it all comes downward to how far apart you set everything, which once again, is nothing more than personal preference.
3- Put Downwardly A Rug
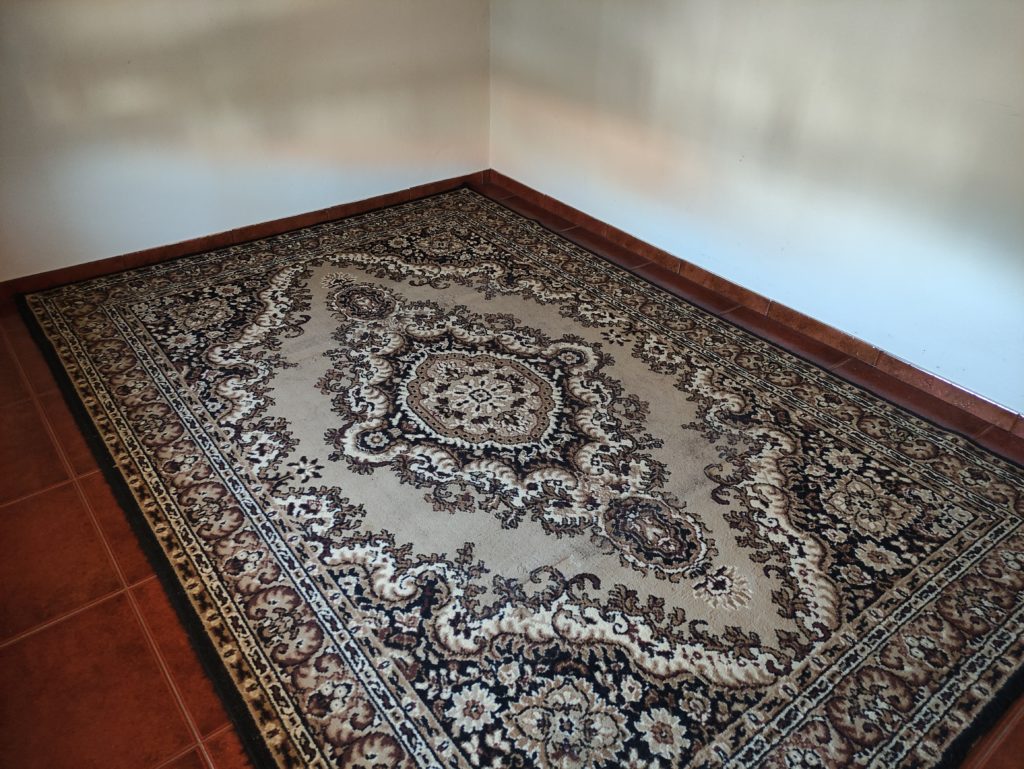
Make sure you have a rug in hand with enough infinite to assemble your drum set up. Many brands like Meinl sell what they like to call "drum rugs", but to be honest, whatever former rug from your grandma is adept plenty.
It probably looks amend than nigh "professional rugs" you lot can buy at the moment. Trust me, ask your grandma!
Drummers utilise rugs under their drum set to amend the acoustics, as it dampens pulsate sounds, simply also, to protect the floor, and most importantly, to stop the drum set up from sliding.
Most bass drums come with spikes in their legs that dig into rugs or whatsoever like fabric. Yous can't do information technology with something like wood floors, that's why drum rugs are so important to drummers.
iv- Decide The Direction Your Drum Set Will Face
Now that y'all have a location and a pulsate carpet to place under your drum set, choose the direction where your pulsate kit will be facing.
A lot of drummers like to set up their drum kit facing a wall. I'thousand the exact opposite, I like to have the wall behind me.
It's getting old, but in one case again, it all comes downwardly to personal preference. Exam both options for a while until you're able to identify what you like the almost.
5- Assemble And Place The Drum Throne
The drum throne is the foundation of your drum set, believe it or not. Besides posture and ergonomics, the drum throne's tiptop is as well important to decide the height of the rest of your drum set.
With that in mind, it only makes sense to assemble it first:
- Loosen the wingnut at the bottom, aggrandize the legs until it feels stable plenty, and and so tighten the wingnut again;
- Unlock the wingnut underneath the seat, line the height adjustment rod with the hole underneath the seat, and let it slide in. Once it's in place, lock information technology once more using the same wingnut y'all just unlocked;
- Raise or lower the seat, until y'all notice a comfy sitting position, by adjusting the height adjustment rod. Some thrones have some sort of lever on the side, like office chairs. Others have a threaded weight adjustment where you rotate the seat to change the height. Most inexpensive thrones only have a tension rod that you unlock with a drum key to move the elevation adjustment rod and then lock when you observe the sweet spot.
- Now that your drum throne is ready to go, make certain one of the legs is pointed behind you (to preclude you from falling backward) and your legs are at a slightly above 90º angle. That prevents back and leg hurting and improves your technique by allowing yous to sit down in a more natural position.
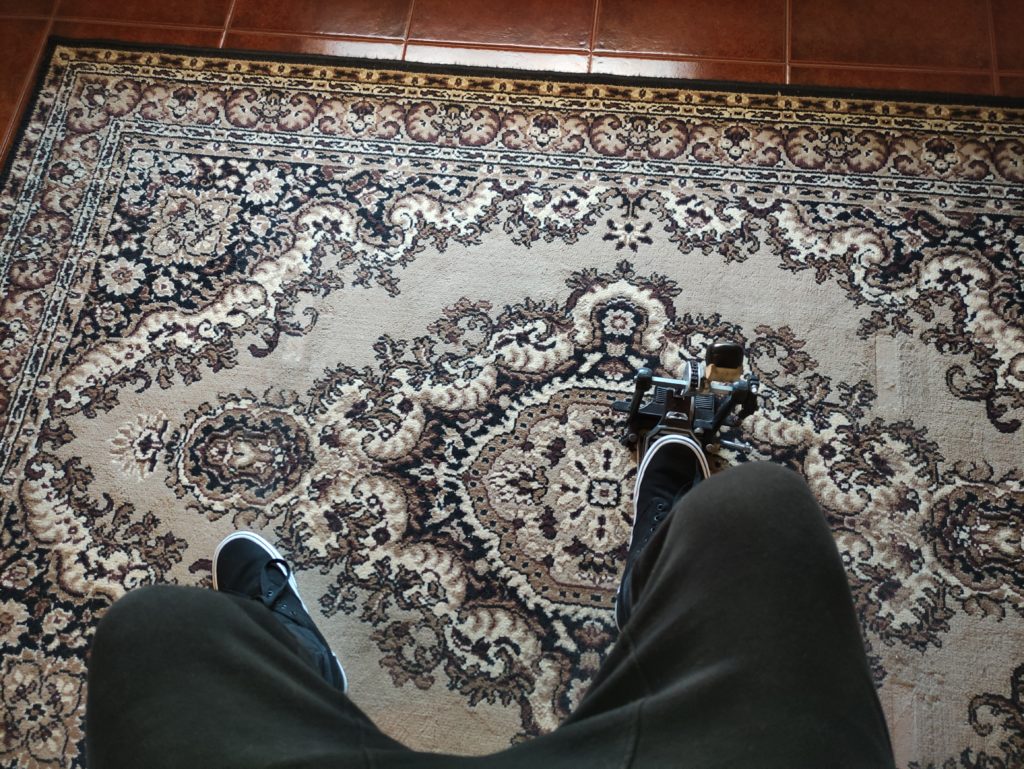
6- Set up Upwards The Bass Drum
Now that your throne is in place, sit and brand sure your right leg (or left, if y'all're a lefty) is parallel to the right and left side of your carpeting.
There are a couple of different angles you can use your bass drum: either directly in front of you, or slightly angled to the correct. For the sake of simplicity, let's become with the "directly in front of you" option.
Where you lot have your right human foot is the perfect spot to place your bass pulsate pedal, which we employ to play the bass pulsate itself.
Nosotros at present know where your bass drum pedal is, and therefore, your bass drum volition be right in front end of it:
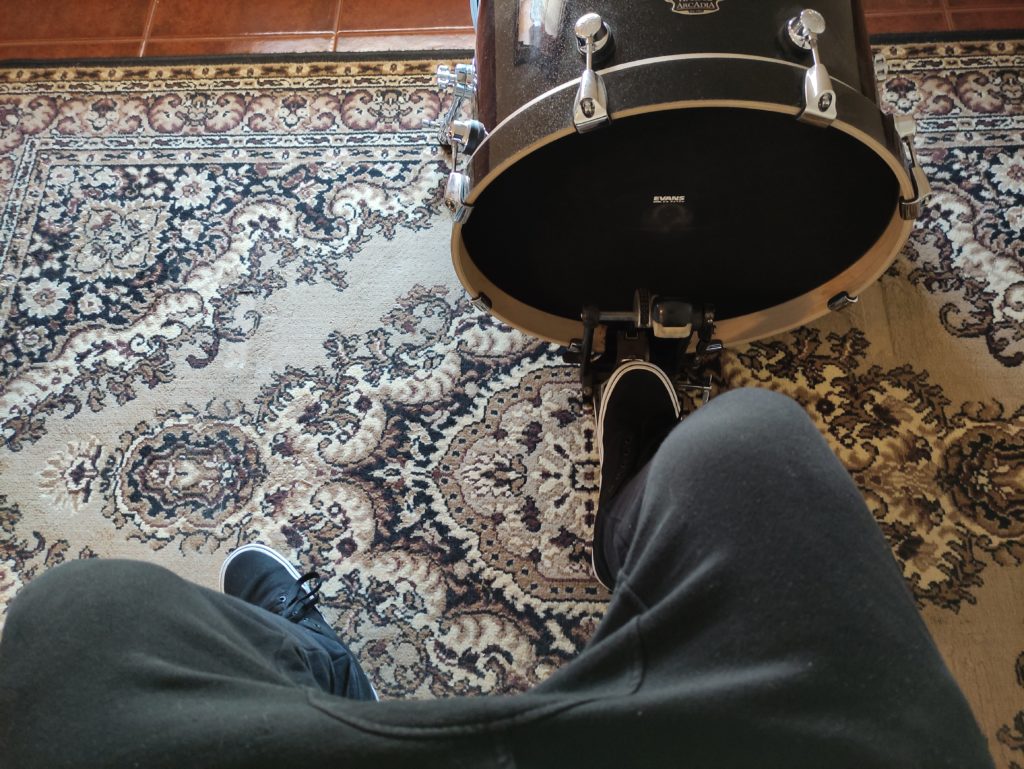
- Identify the bass pulsate in front of the bass drum pedal, with the holes for the tom holder on top, and the logo head (might take a hole too) and bass drum legs facing away from you;
- Loosen the wingnuts on both bass drum's legs, position them and so they barely lean forward (away from yous), until they make contact with the flooring, and slightly lift the front end of your bass drum off the ground;
- Once both legs are in an ideal position, tighten back both legs' wingnuts;
- Loosen the wingnut on the bottom of your bass drum pedal, and clamp it to the bass pulsate hoop facing you. Make sure the pedal is secure and fully apartment on the floor (if not, adjust it!) and tighten the bass drum pedal wingnut.
Notation: To avoid whatsoever damage from the contact, use a bass drum hoop protector or any one-time material/paper-thin in between the hoop and the clench to prevent the bass pulsate hoop from getting chewed by the pedal.
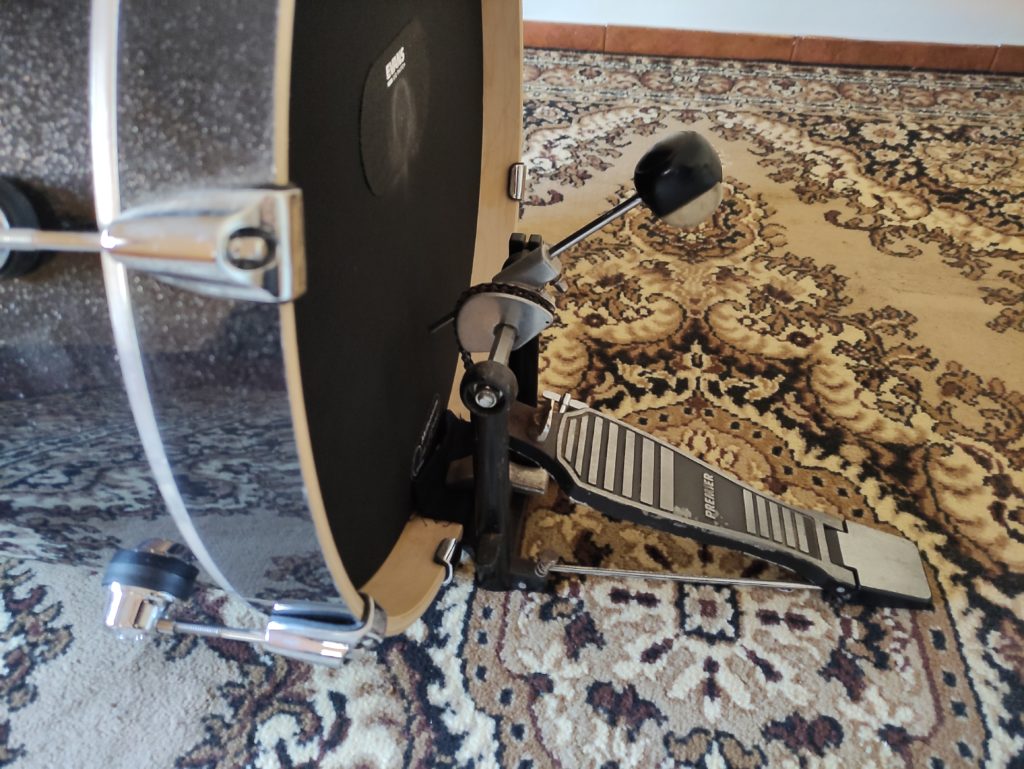
vii- Adapt The Bass Drum Pedal
We are now able to play the bass drum, but before that, it's time to adjust the bass drum pedal.
You should ready the pedal in a way where the beater is at a 45º angle while too striking the batter head right in the centre. You arrange the beater past loosening the square spiral next to it.
Adapt the spring tension until it offers a resistance that you observe comfortable enough for you. Don't worry if it doesn't experience right at first, experience is the simply way to observe out what works best for you.
Keep in mind that, the tighter the spring, the faster the pedal returns to its balance position, simply the harder it is to play.
Examination everything out to make sure it works and information technology's comfortable plenty to use during long periods.
8- Assemble The Snare Pulsate Stand up And Place Your Snare
Remember when you saturday on your throne to detect where yous would identify the bass drum pedal? Now do information technology again, just spread your legs while keeping the right foot on the pedal.
The space betwixt your legs is where you lot'll place your snare drum. Fourth dimension to set information technology upward in five simple steps:
- Loosen the wing nut at the lesser to expand the legs of the snare pulsate stand. Yous tin can't expand them too much because they're in between your bass drum pedal and your Hi-Hat pedal. Once the stand up feels stable plenty, tighten it back up.
- Now that the stand is in place, open up the handbasket, loosen the basket'south aligning nut until you're able to set the snare drum in, and tighten it back up until your snare is secure in the basket. Make sure you place your snare with the snare wires facing downwards and the snare throw-off to the left (sitting perspective).
- Loosen the eye fly nut and adjust the elevation of the stand. You want the top of your snare to exist at the peak of your hips when sitting, or slightly above. That ways the height of your snare pulsate stand up depends on how high you sit and how deep your snare drum is. Tighten it back up one time y'all observe the desired height.
- The terminal bear upon is to adjust the angle of the snare handbasket by loosening the wing nut at the pinnacle. Drummers play with the snare drum tilted towards them, away from them, or fully horizontal. Exist open-minded and exam every option until you find what's comfortable for you. Tighten the summit wing nut when you're done. One time tightened, y'all shouldn't exist able to lift the snare without the stand coming along.
- Now that the snare is ready, merely place it between your legs and every bit close equally possible to the bass drum, without touching it or the rack tom you're going to gear up next.
9- Mountain The Rack Toms To The Bass Pulsate
Even though rack toms are oft mounted to cymbal stands (that include a tom holder) or snare pulsate stands, they're usually mounted over the bass drum using a tom holder.
There are 2 types of tom holders: single or double tom holders.
The double tom holder slides into a single hole on the bass drum and holds two toms at a time. The single tom holder simply holds i tom at a time and in a 5-piece drum kit, yous'll need two. In this instance, there volition exist two separate holes in the bass drum to slide in each of the single tom holders.
In my case, the drum set has a double tom holder and this is how yous mount your toms:
- Loosen the wingnut on superlative of your bass drum and identify the tom holder into the bass drum mounting bracket located at the peak, and tighten the bracket'south wingnut. Leave information technology loftier for now, since yous'll suit the meridian after you gear up both toms;
- Loosen the wingnut on your smaller rack tom subclass and slide it onto the left tom arm. The right side of the tom should be close to the heart of the superlative of your bass drum. Repeat the process for your second rack tom but place it in the right tom arm instead. Adjust both toms equally needed and tighten both bracket's wingnuts once yous find the sweet spot;
- To brand the gear up more comfortable and less slow, loosen the wingnuts well-nigh both tom arms and angle the rack toms a piddling and then they're tilted towards you. Something like a 10º to 15º angle is enough for about drummers to consistently strike them both in the center of the drum head.
- Now that both toms are in place, loosen the wingnut on elevation of your bass drum again and let the tube slide in. Be careful because the rack toms might hit the bass pulsate on the way down, so loosen information technology just plenty for it to slowly slide in. Make them every bit low or as high as you lot want. In my example, I commonly leave an inch between the correct tom and the bass pulsate, which is plenty to forbid both toms from hitting the bass drum while playing.
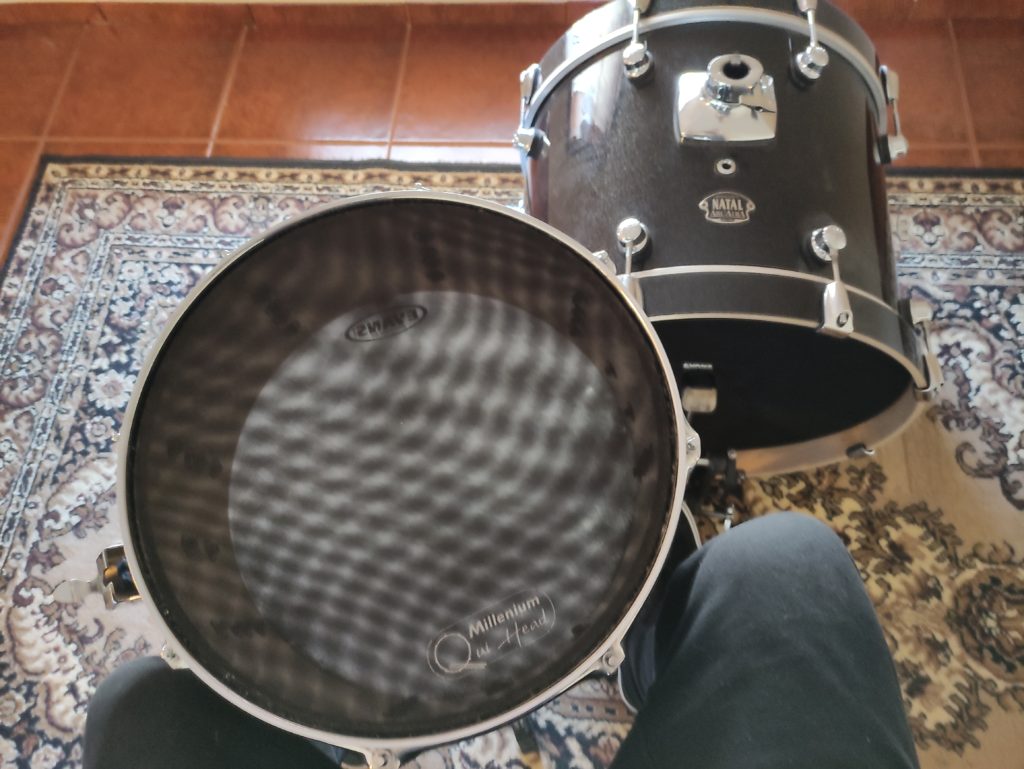
ten- Set Up Your Floor Tom
It'due south now time to assemble your flooring tom, which is probably the easiest matter to do. Drummers usually identify it to the right of their right leg (bold they're not a lefty) and beneath the second rack tom. Where'south how you lot set it upwards:
- Flip the flooring tom upside down so the brackets on the side of the tom are on top;
- Loosen each of the three wing basics and insert the floor tom'due south legs into the flooring tom's brackets;
- Make sure every foot is facing outward so the floor tom is stable enough and doesn't tip over.
- Adjust the position of each tom leg so the height of the flooring tom matches the superlative of the snare pulsate;
- Tighten the three wingnuts when everything's in place and flip the floor tom again.
- Only like the snare, you can play with your floor tom tilted towards you, abroad from you lot, or perfectly horizontal. Adjust each leg individually until you achieve the desired fix;
11- Set The Hullo-Lid
Now that we have all the drums ready, information technology's time to place the cymbals after assembling the cymbal's stands. Permit's starting time with the How-do-you-do-Hat:
- Loosen the lesser fly nut, aggrandize the legs until the pedal anchor isn't touching the floor nor also high off the floor, and tighten it back up;
- Place the two brackets of the pedal into the openings designed for this purpose nether the footboard by pressing them together;
- If it isn't already there, spiral the tension rod into the thread of the stand up;
- After removing the clutch, slide the bottom Hi-Hat (it ordinarily says "bottom" or doesn't accept any logo) through the tension rod until information technology sits on superlative of the back up felt-pad;
- Grab the clutch, unscrew the locking nut and take one felt band out (leave the other);
- Place the top Hi-Hat onto the felt ring you left on the clutch, add the second felt ring and spiral the locking nut again;
- Slide the clutch with the top Hi-Hat through the tension rod;
- Loosen the top wingnut, motion the eye tube to the desired height and tighten it back. Most of the time, your sticks will exist crossing over, with your right stick going over your left stick. Make sure the Hi-Chapeau is loftier enough compared to the snare to avoid the drumsticks hitting each other while playing. Effectually 8" is usually enough, which is half a drumstick;
- To make the Hi-Hat functional, printing the Hello-Hat pedal to bring the tension rod down 0.five" to 1" and tighten the wingnut on the clutch. Your Hello-Hats are at present open up with plenty infinite to slide a drumstick in betwixt.
- Place the stand to the left of your snare where it doesn't hit the snare or the beginning rack tom.
12- Fix Up The Crash And The Ride
To set up cymbals similar rides, crashes, chinas, and even splashes, drummers utilize cymbal stands that are either straight or boom.
Straight cymbal stands are more stable but less versatile while boom stands are the exact contrary.
Boom stands can be converted into straight cymbal stands by hiding the nail arm inside the upper tube.
That makes straight cymbal stands the best option for heavier cymbals with more 20" while boom stands are frequently used with smaller cymbals similar splashes and near crashes.
That doesn't hateful yous tin't set up a splash on a straight cymbal stand or a ride on a boom stand, it'southward completely upward to you and what's available.
Here'southward how y'all fix up cymbals on a direct cymbal stand:
- Merely similar we did plenty of times before, loosen the lesser wingnut and expand the stand's legs;
- Loosen the top wingnut until it comes off, remove one of the felt rings and place either the ride or the crash cymbal on top of the other felt ring;
- Add together the felt band you removed in the previous stride on top of the cymbal and tighten dorsum the wingnut.
- Loosen the middle wingnut (sometimes there are 2) to adjust the top of the stand. How high you set up your cymbals is just a matter of personal preference. I fix them as low as possible without hit any of the drums. Some folks like Forrest Rice set up them as loftier every bit possible without the stands falling over.
- If information technology's a straight stand, the wingnut nether the cymbal allows you to adjust the angle of your cymbal and that's pretty much it.
If it'southward a smash cymbal stand, at that place are a few extra steps:
- You can detect some other wingnut to unlock the cymbal arm, and you tin can likewise use information technology to adapt the cymbal bending and placement. Just loosen the wingnut, move the arm around until you find a good spot, and tighten the wingnut back up. There's no correct mode to angle your cymbals, equally drummers that set them up low unremarkably end up with most horizontal cymbals, while drummers that set them loftier are the verbal opposite.
- For boom stands, place i of the stand up'south legs under the cymbal to help weigh the weight of the cymbal and the weight of the stand.
- Identify the stand with your crash near the Hi-Hat and the first tom, and brand sure it doesn't striking or covers likewise much of either. Place the stand with your ride next to the second rack tom and the floor tom and make sure it doesn't cover likewise much of either.
Avert Smashing Your Cymbals
- Make sure yous don't tighten the peak wingnut too much, because suppressing the cymbal's natural vibrations will pause it sooner than it should.
- It doesn't matter where you place your cymbals, as long every bit you can easily accomplish them and information technology'south comfortable enough for yous. Only you should always make sure the cymbals are angled towards you to avert keen the edge.
- Every unmarried stand up should accept a plastic sleeve (nether the band felt at the lesser of your cymbals) to avoid metal-on-metal contact that causes cracks around the bell.
Exam The Full Kit
Congrats, y'all just set a drum set for the first time in your life. Don't worry if information technology wasn't easy, it gets better with fourth dimension.
Now it's the perfect time to examination it out and adjust everything that doesn't feel right. Get creative with how you lot set upwardly your drum set, this article should be used as a foundation merely.
The last thing yous want is any piece of your pulsate set to fall over, so brand sure every wingnut is tightened properly. Don't tighten them too much either, or you might break them. That, or the side by side time you need to disassemble your drum set, you'll need a pair of pliers to unscrew them again.
Make certain the legs of the snare stand, Hi-Hat stand up, and the Crash and Ride cymbals are spread enough to be stable even while playing.
If you lot discover any stand wobbling as well much, spread the legs fifty-fifty further. At that place's nothing wrong with spreading the stand's legs even more than likewise taking upwards an unnecessary amount of flooring space. Fortunately, that unremarkably isn't a trouble in a regular five-piece pulsate kit.
Your drums, cymbals, and hardware might await dissimilar, but the thought process is similar.
Don't forget to take intendance of your pulsate set. Basic maintenance like cleaning and polishing your cymbals and shells or lubricating lugs and tension rodsouth goes a long style in extending a drum set's life.
I hope this article allowed yous to learn how to fix up a drum gear up and avoid a lot of mistakes some drummers, similar myself, had to go through at the beginning of our journey.
Source: https://www.drummingtips.com/how-to-set-up-a-drum-set/
0 Response to "How To Set Up A Drum Set Diagram"
Post a Comment